How Much Juice Is There in One Lime?
The Simple Answer
There is a simple answer to this question and a not-so-simple answer. The simple answer would apply to the juice of the most common lime found in Western groceries.
That lime is the Persian lime (Citrus x latifolia). Persian limes when mature are a little under 60 grams and will produce between 15 and 44 ml (1 to 3 tablespoons) of juice.
The Persian lime, in case you were wondering, is a triploid (three-way) cross between lemon (Citrus limon) and key lime (Citrus x aurantifolia), which is itself a cross (hence the triploid). Key lime was derived from a type of papeda (Citrus micrantha) found in the Philippines crossed with the south Asian citron (Citrus medica).
Related Reading: How Much Juice is There in One Lemon?
What is a Lime, Anyway?
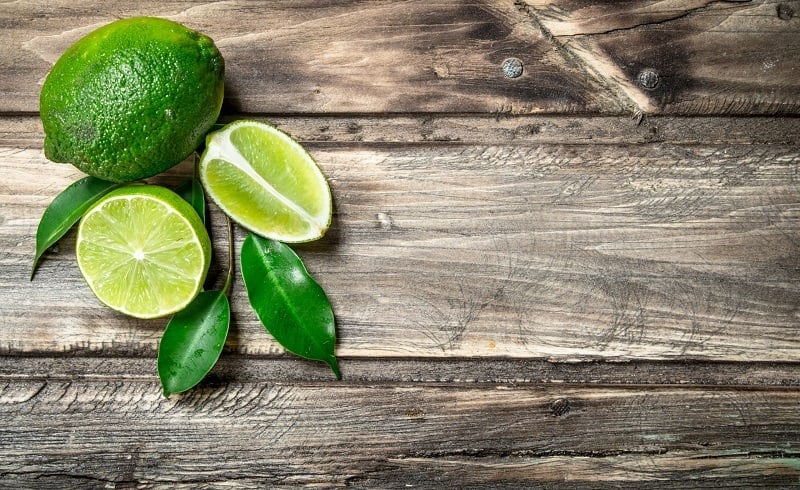
That all depends on which part of the world you are from. In Australia, there are four lime cultivars: the Australian desert lime [Citrus glauca], the Australian finger lime [Citrus australasica], the official Australian lime [Citrus australis], and the blood lime [a triploid hybrid between the finger lime and the Ellendale mandarin: Citrus australasica x {sweet orange x Citrus reticulata}].
In southeast Asia, limes are the Kaffir lime (Citrus hystrix). It is one of the top three limes produced worldwide (the other two being the Persian lime and the key lime).
The sweet orange mentioned above, most familiar to Westerners found in your typical grocery store, is itself a hybrid of the pomelo (Citrus maxima) and the mandarin (Citrus reticulata). As you can see, citrus genealogy is about as simple as Habsburg genealogy.
Read Article: Does Apple Cider Vinegar Go Bad?
Best Ways of Extracting Juice from a Lime
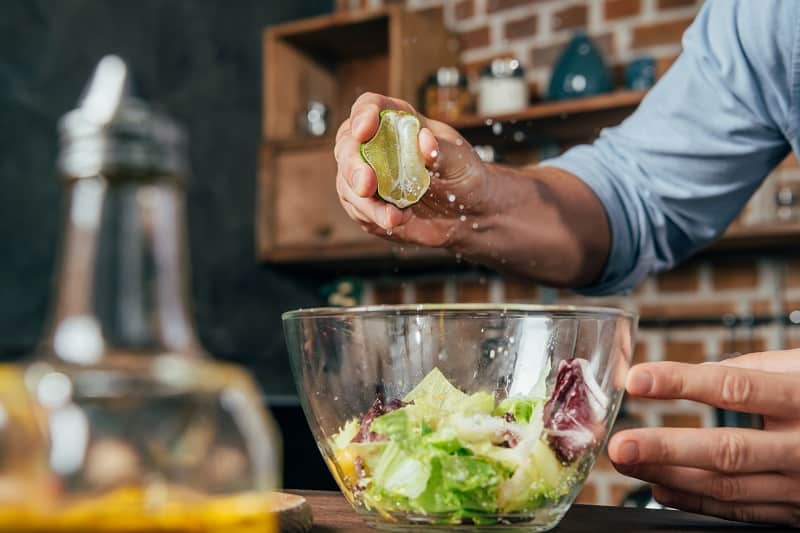
Since we are talking about lime juice, it makes sense to talk about how to get the juice from the lime. There are several methods, which we will review here from high-tech to low-tech.
No matter which method you use, be sure to slice your limes first.
Pre-Extraction Treatments
Microwave it (briefly!)
Warming your lime in a microwave for 20-30 seconds before cutting it is one way to improve juice extraction. You can use any method of extraction after warming with this approach.
Microwaving will briefly heat and rupture many of the juice vesicles in the fruit without splitting the rind. Make sure to allow the lime to cool for a bit before cutting to avoid getting burned.
Roll it
Another means of breaking up the juice vesicles in the fruit is to roll it. Place the fruit on its side on a hard, clean surface.
Using your hand (or if you are not very strong your foot), apply medium pressure and roll the fruit back and forth along its entire circumference. Do not apply so much pressure that you break the rind unless you are performing this action in a large collection container.
Extraction Methods
Power juicer

Perhaps the easiest way to juice limes is to use a power juicer, such as the. This Greenstar Elite method is only useful, however, for processing large numbers of limes. This method is only useful, however, for processing large numbers of limes.
If you choose this way of getting your lime juice, you cannot possibly use all you produce. The only option is to store it under refrigeration in a glass container (such as wide mouth 16 or 32-ounce jars).
Fill the container up to the top before sealing it to reduce the amount of air headspace. This will increase the shelf life of your juice.
Manual Press
Another method of extracting juice is to use a manual press. This approach crushes the fruit using hydraulic lever-action and dispenses juice to a collection trough.
A good manual press is the Welles People Press by Samson. It has a flat press plate and will process any shape of fruit or vegetable.
Hand Juicer or Reamer
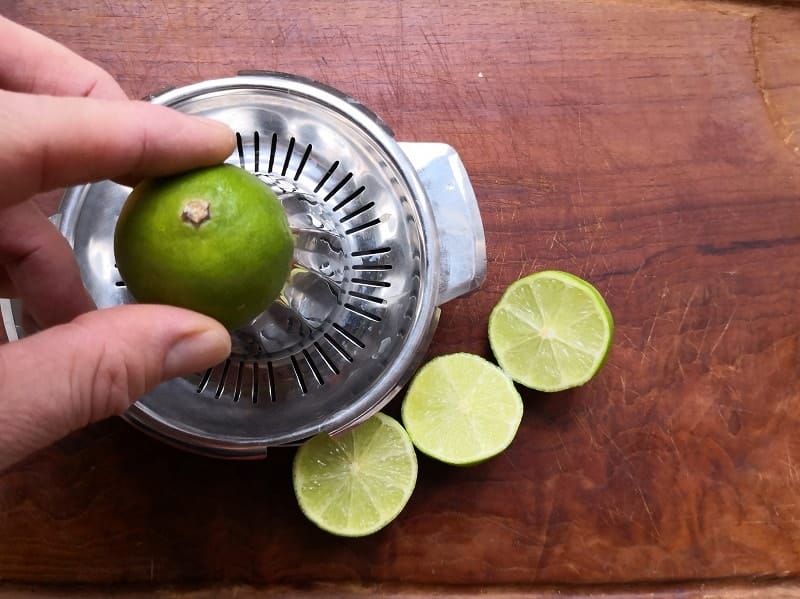
This way is old school, low-tech, but it is affordable. It involves manual grinding of the pulp to break the juice vesicles and release the liquid contents.
These methods are for small jobs and produce small amounts of juice. They are appropriate for quick kitchen recipes and adult beverages (a.k.a. cocktails).
Good options in this category are the Zulay Manual Juice Press. It features an all-metal design and a catch basket for the fruit pulp.
Another good option is the OXO Steel Juicer. It features a high-impact plastic ream, steel mesh grating to catch the pulp, and a juice catch container that also is a measuring cup.
If you are going to go super low-tech, there is the Zak Designs Citrus Reamer. It is a solid melamine ream, very basic, but very effective for small jobs.
Fork
Yup, a fork. It is a simple and reliable juicing method. Simply cut the lime in half crossways (so that you are looking at a cross-section across the pulp). Then macerate the pulp with a fork.
As you disgorge the pulp, turn the lime in the palm of your hand and press the fork against the inner side of the rind.
Manual Squeeze
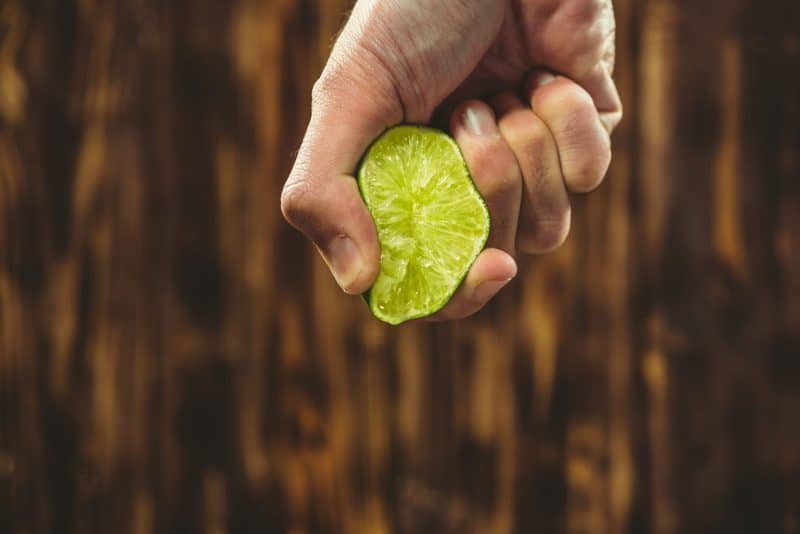
Probably the easiest method is to simply cut the lime in half, across the pulp, and squeeze into a bowl. This method does not tend to yield much juice unless you are rather strong, as limes are firm even when fully ripe.
Manual Squeeze Lengthwise
You can boost your manual squeezing of limes by sectioning the lime into pieces. Depending on how you cut it, however, it will make the job easier or harder.
Here is the easy way: Stand the lime on end on the cutting board. Between the pedicel (pointy place at the top) and the side, slice downward.
Turn the fruit 90 degrees and repeat. After completing all the turns, you should have five pieces of fruit.
One from each side and the center. These smaller pieces can more easily be squeezed to extract the juice.
The Helmet Method
As a last resort, you can go for the nuclear option: duct tape and a bike helmet. We prefer the CM-1 Helmet by Retrospec.
It does not have an aquiline shape as many helmets do for good aerodynamics, which in this application would get in the way of a good head strike. We chose to list this method last since it is not technically a low-tech measure due to material costs.
This method will require several additional pieces of equipment such as a sheet of plastic, and perhaps a neck brace. Also required, a hard wall surface, preferably smooth (ideally, not brick).
We do not recommend using a plasterboard (as in older homes) or sheetrock (drywall) wall. Helmet juicing will likely produce holes in the wall and will incur additional material costs: drywall, plaster.
If you do go this route and have only drywall, er…, walls, here’s a handy guide to help you with your post-juicing repairs: Drywall: Professional Techniques for Great Results by Myron R. Ferguson.
Tape the plastic halfway up the wall (at least above bending-over height) and allow for a length to extend across the floor approximately one meter. We recommend using painters’ tape to prevent paint cracking off from the wall.
Place the limes (we recommend no more than three) across the top of the helmet and affix in place with a single piece of duct tape. Place the helmet on your head and secure it properly as per the manufacturer’s instructions.
Place the neck brace on your neck and secure properly as per manufacturer’s instructions. Make sure both the helmet and brace are snug.
Standing 2-3 meters from the prepared wall, bend at the waist and run towards the wall. Upon impact, the limes will be crushed and juice will be released, falling upon the plastic sheet.
This procedure may be repeated several times until the bike helmet has become unusable. Remember, good bike helmets are intended to break and absorb the impact to protect your noggin.
If you require it, here’s some aspirin.
Read this Article: How Long Does Coffee Last?

